Haven’t we all dreamt about permanently having perfect nails? The reality of it is that we can’t really keep running off to the salon whenever a nail breaks off, because of both the hassle it means, and the money we spend on it. Because let’s be real, getting your nails done is not exactly cheap.

Always perfect
Either because you believe your nails look better, or because you’d like to finally get rid of your ugly nail-biting habit, acrylic nails are an easy go-to when paying a visit to the nail salon.
We show you how you can get that acrylic nail finish without leaving your home, and for both less money and effort.
Prep your nails

Pour some hot water into a bowl and let your hands rest in it until you can feel your cuticles softening. This will make pushing your cuticles back much easier, which will in turn make your nails look longer.
Get rid of your cuticles
Get hold of a cuticle remover and use it to take away excess skin. Then, push back the cuticles surrounding your nail arches to create visually longer nails. Now you’ve gotten them to look longer, you can go onto the next step.
Remove excess oil

Before continuing, make sure you remove any excess oil that might remain on your nails with polish remover. Thanks to this, you will notice how your fake nails stick in place for much longer.
The process
To obtain the desired «acrylic nail» look, you will need nail glue, like this one, as well as full sized fake nails, like these you can find on Amazon. Once you get hold of your material, you will have to find out which nail sizes are suitable for your own.

If you choose slightly smaller fake nails they will probably look more elegant and natural, rather than using those chunky fake nails; this would create a tackier look. But it really depends on your own preferences.
Time to stick on the fake nails
Start by applying a small drop of glue on each nail, on top of which you will later stick the plastic ones. You will notice how much glue you need as you go: apply enough so that the nails stick on, but not that much that will cause the glue to come out from underneath. If you feel like you haven’t applied enough glue, you can always add a bit more after.

Trim & file
Once you’ve stuck on the plastic nails, it’s time to trim them down, because it’s most likely they are now super long. You can take a regular nail-clipper and cut them off a bit.
After, you can go onto filing them: take a regular file and start shaping them. Bare in mind not to file the sides too much, as we’re not looking for a claw-like shape. We are rather going for a long, elegant look.
Throw in some colour

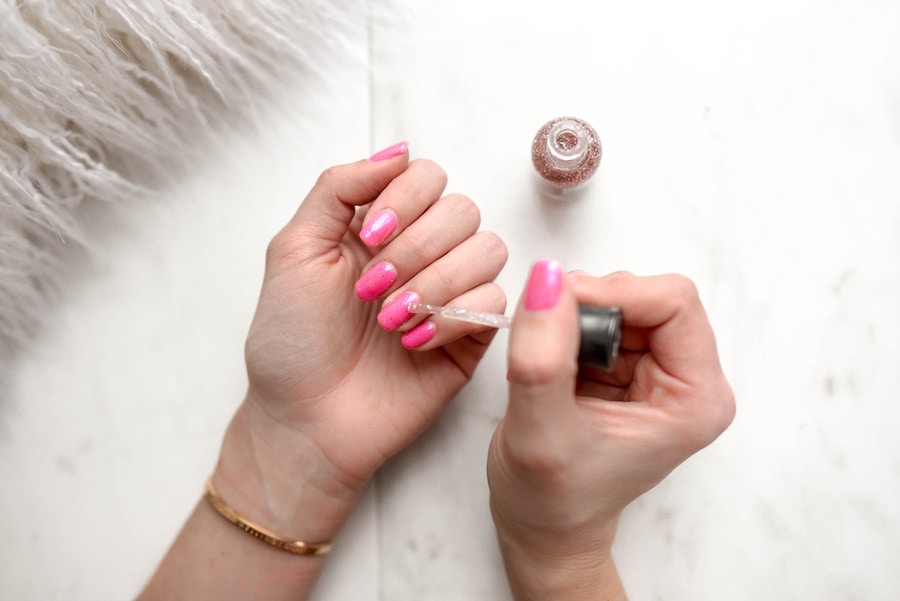
Choose the colour you want applied. We recommend the polish be of quick dry, as it will be more easily aplicable. A great trick we’d like to share with you, is that, in the case of applying too much product, or if you’ve «coloured out of the lines», you can always take the file you’ve used and gently remove it, instead of using polish remover. This will assure a nicer finished look.
Apply two layers of polish to your nails in order to obtain the desired «gel effect». They will look as if they came straight out of the nail salon. Lastly, apply a transparent top coat, and let dry.
Photos: Pixabay, Unsplash and Amazon
